Welcome to Your Website!
Here are some tutorials to help you keep the site up-to-date:
Your WordPress Theme:
Your site is built using Divi- a state-of-the-art builder. You can find general text and video tutorials on items used to build your site to the right —>
And more specific tutorials by KMDD for editing items on your site below.
Outside Divi Tutorials
Generic (but helpful) Video and Text tutorials created by others.
Your Custom Website Tutorials:
Manual Backup before Editing (optional)
Your Host, Siteground, makes daily backups so if you ever have a problem we can always restore to yesterday’s site.
As an added layer of security there is a backup app right here in the backend of your WordPress site. If you feel it is necessary, you can create a manual back up before any edits by clicking “Updraft Plus” in the top black bar and creating a backup. Only keep one or two backups in that window to keep your site files from building up and filling your hosting service.
- Click UpdraftPlus in top black bar, choose Backup/Restore.
- Click the big blue Backup button to create a backup.
- To delete older backups scroll down and choose the older backup and click the red Delete button.
- You can restore from the same window.
Adding Gallery Images
In a browser visit the page with the gallery you wish to edit. Open the page in a new tab so you can keep this window open to refer to.
- In the top black bar click “Enable Visual Builder”.
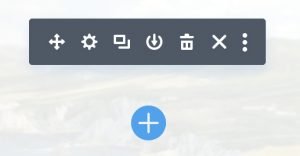
- Scroll down to the gallery and click on an image in the top row to access the Gallery Module bar (grey bar).
- Click on the cog icon (second from left) to access the Gallery settings.

- Scroll down to the bottom of the images and click the plus sign to add new images.
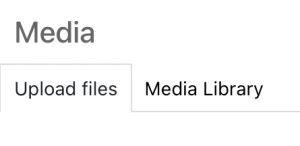
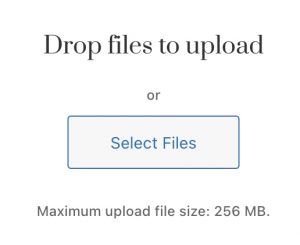
- Click the “Upload Files” tab in the upper left (see screenshot below), and then click the “Select Files” button (see screenshot below) to upload your new images. Shift- select to add more than one at a time.


- Make sure your images are formatted correctly as jpg files, 1000 pixels in the largest direction, and only 72 dpi.
- Click the “Open” button (bottom right) to add them to the Gallery.
- You can click on, hold and drag the images into the position you want in the Gallery.
- When you are finished add them, click the green check button on the bottom right.
- Click on the purple three dot icon at the very bottom to access the full save menu.

- Click the green “Save” button and then click “Exit the Visual Builder” in the top black bar. Note if you click Exit Visual Builder before saving you will be prompted to save before closing.